This is my best refashion to date. I'm so impressed with how this turned out. I saved yet another dress from the donation bag, this one left by my mom the last time she stayed with us. I started with a dye job, as it was a blah greyish greenish. You're going to have to imagine it, because I didn't get a picture before it jumped in the pink pool.
 |
| Grey/Green + "Rosa Mexicana" = Mauve |
The only redeeming quality of this dress is the soft jersey fabric. It was too wide on me, and I'm not a fan of screen printed lady bugs on my clothing. So I got to choppin'.
 |
| See ya straps. |
I folded over what used to be the back of the dress and sewed a casing for the new front neckline.
Next, I got rid of the lovely lady bugs. Don't worry, I'm saving them for something else.
 |
| Lady bug, lady bug fly away... |
Next on the agenda was taking in the sides about 1.5" on each side so it would be a little more fitted. I have no idea what size this dress was to begin with, as my mom is a habitual tag cutter.
I cut away the excess fabric and unfortunately the pockets had to be sacrificed.
 |
| Sacrificial pocket. |
Next up I took the extra fabric from the pocket/seam sacrifice, braided it into 2 pieces and sewed one set of ends together. I threaded it through the neck casing.
Next I had to deal with the drapey back, as I only took in the sides of the skirt portion of the dress. I decided to sew another casing and put some elastic through.
I also had to figure out what to do with the front of the dress, as I still had some leftover fabric hanging on the sides. I left it for last to make sure I wouldn't cut/hem too much and have major side boob action. I tried it on inside out, and pinned the excess fabric on each side, sewed it down, and cut away the excess.
 |
| WOO HOO!! I did it! |
 |
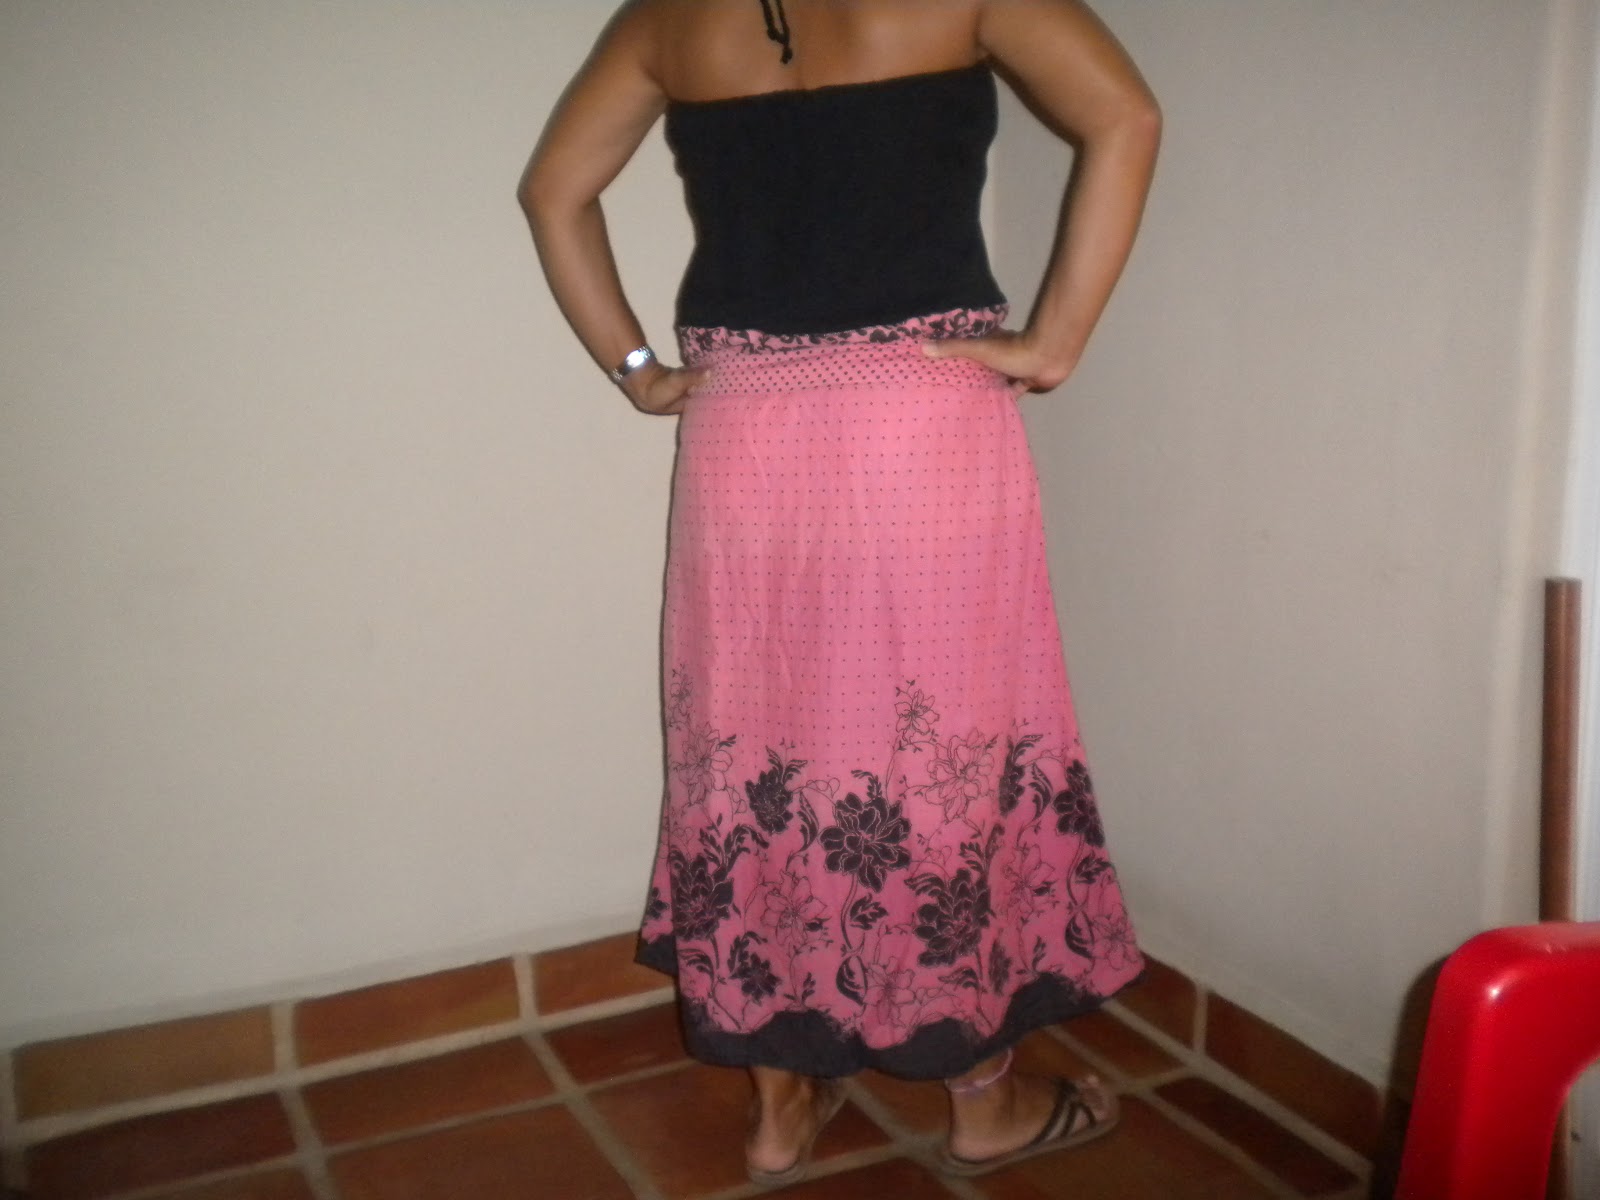
| From the back. |
 |
| Halter strap detail. |
I am super pleased/surprised at how well this turned out. Thanks for stopping by!


